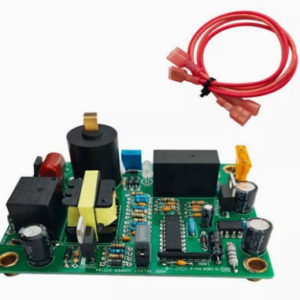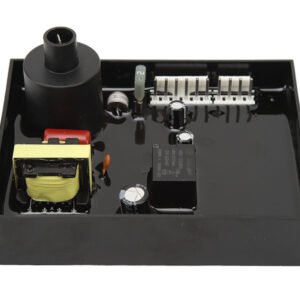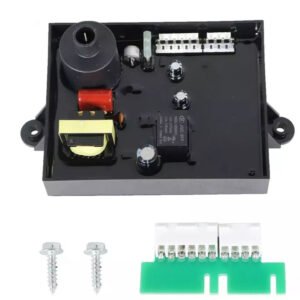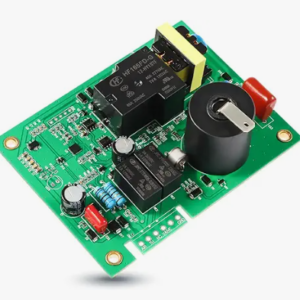
Dometic RV Refrigerator Control Circuit Board | MICROP711 Micro P 711 Replacement

$99.00

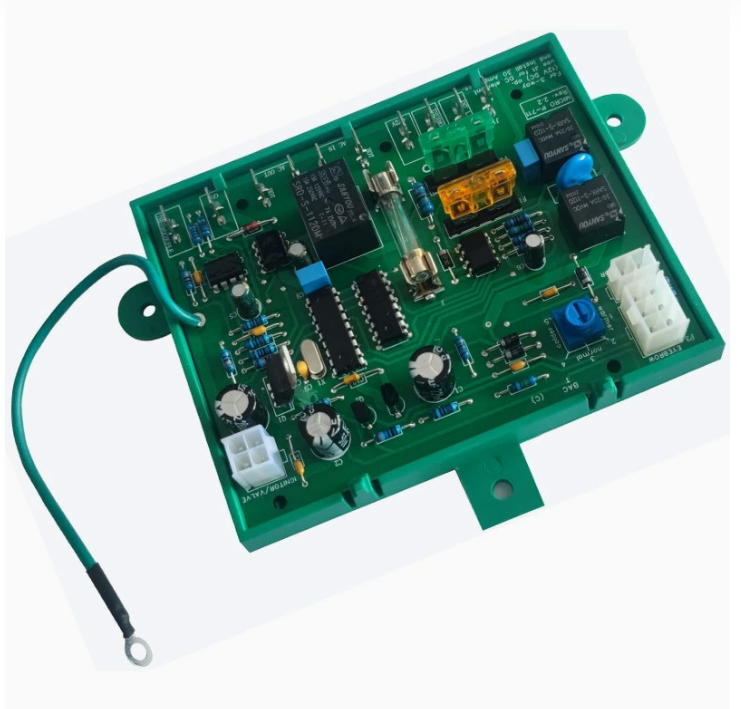
Dometic MICROP711 (Micro P 711) replacement control circuit board for Dometic & Norcold RV refrigerators. Manages gas/electric cooling modes, temperature regulation, and ignition. Plug-and-play, no programming. Fits RM, NDR, NXR, DM series. Free shipping.

Free shipping on orders over $60! Delivery time: 7-12 days

  • Check Mark Satisfaction Guaranteed
  • Check Mark No Hassle Refunds
  • Check Mark Secure Payments
GUARANTEED SAFE CHECKOUT
  • Visa Card
  • MasterCard
  • American Express
  • Discover Card
  • PayPal

Dometic RV Refrigerator Control Circuit Board – MICROP711 Micro P 711 Replacement

The refrigerator control circuit board is the electronic brain of your RV refrigerator, managing all cooling functions including gas/electric mode switching, temperature regulation, gas ignition, flame sensing, and safety lockouts. When this board fails, your fridge may stop cooling, fail to switch between gas and electric, display error codes, or not power on at all.

This Dometic MICROP711 (Micro P 711) replacement control circuit board is designed as a direct plug-and-play replacement for Dometic and select Norcold RV refrigerators. No programming required — simply remove the old board and install the new one.

Compatibility

  • Dometic RM2351, RM2354, RM2451, RM2454, RM2551, RM2554, RM2652, RM2852 refrigerators
  • Dometic RM3662, RM3862, RM3962 refrigerators
  • Dometic NDR1062, NDR1292, NDR1492 refrigerators
  • Dometic NXR1095, NXR1295, NXR1495 refrigerators
  • Dometic DM2652, DM2662, DM2663, DM2852, DM2862 refrigerators
  • Norcold N611, N811, N1095 series (select models with MICROP711 board)
  • Replaces board numbers: MICROP711, Micro P 711, 293277102, 293277103, 3316348900
  • Most 2-way (gas/electric) and 3-way (gas/electric/DC) Dometic refrigerators with electronic control

Specifications

ParameterSpecification
Board NumberMICROP711 (Micro P 711)
Input Voltage12V DC / 120V AC (auto-sensing)
Cooling ModesGas (LP), Electric (120V AC), 12V DC (3-way models)
Gas Ignition12V spark ignition with flame rectification sensing
Temperature Range32-50°F (0-10°C) adjustable via thermostat
DisplayLED status indicators (power, gas, electric, fault)
ConnectionsPlug-and-play wire harness (matches original)
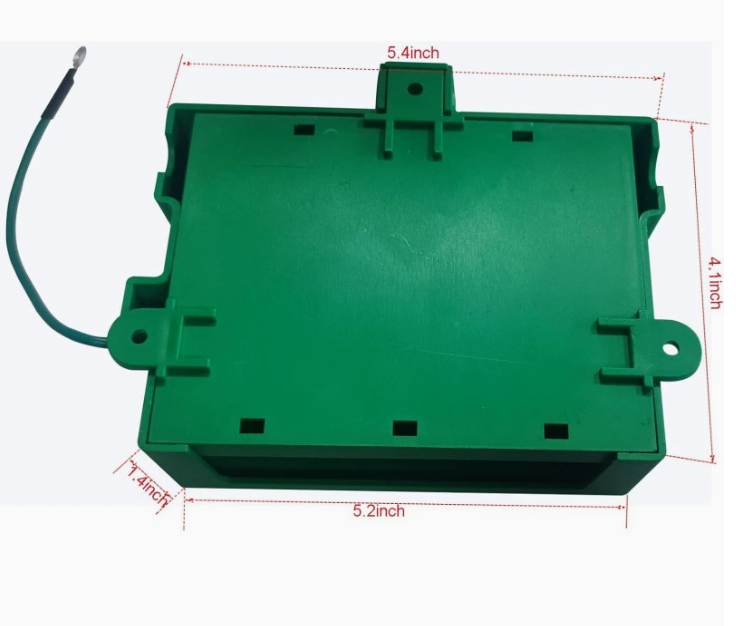
Mounting4-screw mounting (matches original footprint)
ProtectionOver-voltage, under-voltage, over-temperature, gas flame lockout
Operating Temp-40°F to 140°F (-40°C to 60°C)
CertificationCE, RoHS, UL recognized components

Installation Guide

  1. Safety first: Disconnect 12V power at the battery. Unplug 120V shore power. Turn off propane supply. Remove any food from the refrigerator and keep doors closed to maintain cold temperature during repair.
  2. Access the board: Remove the refrigerator exterior access panel (vent cover). The control board is typically mounted on the rear of the cooling unit, behind a plastic cover, near the burner assembly. Remove the plastic cover by releasing the mounting clips or screws.
  3. Document connections: Take detailed photos of all wiring connections before disconnecting. Label each wire connector with tape if needed. Note the position of each connector on the old board.
  4. Disconnect wires: Unplug all wire harness connectors from the old board. This typically includes:
    • 12V DC power (red = positive, white = negative)
    • 120V AC power (for electric mode heating element)
    • Thermostat sensor (thermistor)
    • Gas valve solenoid
    • Spark igniter / flame sensor
    • 12V heating element (3-way models)
    • Display / control panel wiring
  5. Remove old board: Unscrew the 4 mounting screws holding the board to the refrigerator frame or cooling unit housing.
  6. Install new board: Mount the new MICROP711 board in the same position. Secure with the 4 mounting screws. Ensure the board is properly seated and all mounting holes align.
  7. Reconnect wires: Plug all wire harness connectors into the corresponding positions on the new board (refer to your photos). Ensure all connections are secure and properly seated. Double-check the 12V and 120V power connections — incorrect wiring can damage the new board.
  8. Replace cover: Reinstall the plastic protective cover over the board. Ensure all vents are clear and the cover is properly seated.
  9. Test operation: Reconnect 12V power and 120V shore power. Turn on the refrigerator. Verify:
    • The control panel powers on and displays properly
    • The refrigerator starts cooling in electric mode (120V)
    • Switch to gas mode — verify the burner ignites and stays lit
    • Temperature drops to the set point (typically 34-40°F)
    • No error codes or fault indicators

    Let the refrigerator run for at least 2-4 hours to verify it reaches and maintains proper temperature. Check the cooling unit fins for frost buildup (normal in gas mode) and verify the burner flame is blue and stable.

Common Symptoms of a Bad Refrigerator Control Board

  • Refrigerator not cooling in any mode (gas, electric, or DC)
  • Works on electric but not gas (or vice versa)
  • Gas burner won’t ignite or won’t stay lit
  • No display or control panel lights (no power to the board)
  • Error codes or flashing LED indicators on the display
  • Refrigerator runs continuously without cycling (temperature too cold or not regulating)
  • Temperature fluctuates — food freezes then thaws
  • Clicking or buzzing sounds from the rear of the fridge
  • 12V fuse for the refrigerator blows repeatedly
  • Gas mode works but electric mode doesn’t (or vice versa)
  • Refrigerator only works when the engine is running (12V DC mode) but not on shore power

Frequently Asked Questions

Q: How do I know if my control board is bad or if it’s another component?

A: To isolate the problem, start with basic checks: (1) Verify 12V DC power at the board terminals — should read 12-14V. (2) Verify 120V AC power at the heating element terminals when in electric mode. (3) Check the thermistor (temperature sensor) — it should read approximately 10,000 ohms at 77°F (25°C). (4) Test the gas valve solenoid — should read 10-30 ohms. (5) Check the heating element — should read 50-100 ohms (depending on wattage). If all these components test good but the refrigerator still doesn’t work, the control board is likely bad. You can also try a “hard reset” — disconnect all power for 10 minutes, then reconnect. Sometimes the board can lock up and a reset fixes it.

Q: Do I need to program the new board?

A: No. This MICROP711 replacement board comes pre-programmed and ready to use. Simply install it and connect the wires — no programming, dip switches, or calibration required. The board automatically detects your refrigerator configuration (number of cooling modes, sensor type, etc.) based on the wiring connections. Just make sure you connect all wires to the correct terminals as documented from your old board.

Q: Can I install this myself or do I need a technician?

A: Installation is straightforward for anyone comfortable with basic DIY and electrical work. The board is plug-and-play with no wiring modifications needed. The entire process typically takes 30-60 minutes, including testing. The most important steps are: (1) Document all wiring connections before disconnecting, (2) Ensure all power is disconnected before starting, (3) Double-check all connections before powering on. If you’re uncomfortable working with 120V AC or LP gas systems, we recommend professional installation.

Q: What should I do with the food in my refrigerator during repair?

A: The repair typically takes 30-60 minutes, and the refrigerator will be without power during this time. To preserve food: (1) Keep the refrigerator and freezer doors closed as much as possible — a fully stocked fridge can maintain temperature for 2-4 hours with the door closed. (2) Transfer perishable items to a cooler with ice packs if the repair will take longer. (3) After the repair, let the refrigerator run for 2-4 hours before restocking to ensure it reaches proper temperature (34-40°F for fresh food, 0°F for freezer). (4) Discard any perishable food that has been above 40°F for more than 2 hours.

Related Products

Need help repairing your Dometic refrigerator? Contact our technical team with your refrigerator model number and symptoms. Free shipping and duties included.

Reviews

There are no reviews yet.

Be the first to review “Dometic RV Refrigerator Control Circuit Board | MICROP711 Micro P 711 Replacement”